After seeing an ombré cake on Pinterest, I knew I wanted to give it a whirl. But don’t fret if you are thinking, “that is way too detailed and complicated for me,” because it’s not. It’s actually way easier than you think. Now let’s get to the recipe!
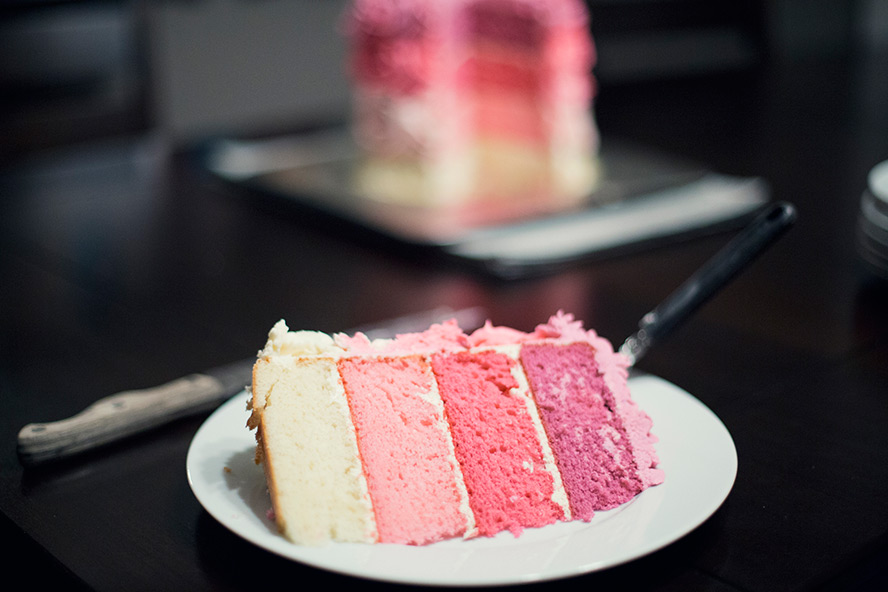
The elegant buttercream roses on the outside of this cake are truly stunning, but once you slice into it, lovely ombré layers are revealed — rich pink down to an ivory white. Overall, this cake is a real show stopper!
ingredients
Ingredients
Ombre Buttercream Icing
directions
I cannot stress enough how important it is to taste and go with adding ingredients. Do the wet ingredients 1 teaspoon at a time, taste and go.
Combine all the ingredients until the batter is nice and smooth, and free of lumps. Grease a 7-inch round cake pan and fill it with the white cake batter. Now this is where your gradual colouring comes in. Using the pink food colouring, add a tiny bit and mix until the batter becomes a light pink. Pour another 7-inch round cake pan filled with light pink batter. Bake the two cake pans as recommended on the back of the cake box (mine was for 350°F for 23 minutes).
Now add more pink colouring to your batter and mix until you get a darker pink, and pour into a cake pan. For the last cake pan, my batter wouldn’t get any darker so I added a very small amount of purple food colouring to darken the pink, then poured it into my cake pan. You will also have enough leftover batter to make 12 cupcakes to go with your cake!
Once your four cakes have baked, set them aside to cool for 10 minutes, remove from the cake pans and allow to fully cool on a cooling rack. Now it’s time to prep your buttercream.
For the ombre icing, start by really whipping your butter. This should take at least 5 minutes on a high speed until your butter gets nice and fluffy. Now add in your icing sugar 1 cup at a time. Continue to whip and add until you get a consistency you like. Add your vanillas, vanilla beans, salt and butter flavouring. Whip again. Slowly add your cream last. If your icing is too runny, add more icing sugar. If it’s too thick, add more cream.
Time to build your cake! Make sure to level off all your cakes using a cake leveler — this ensures the cake will stack nicely and most of all, looks great after your done. Put your white cake on your serving plate and coat the top with a layer of icing (this is called a crumb coat and will help everything stick together and make your cake look pretty). Continue with your light pink, medium pink and dark pink cake slabs. Once they are all stacked, coat the outside of the cake with a smooth layer of buttercream. Next up are your little buttercream roses. Fill an icing bag with a 1M tip (you’ll need a large coupler for this too) and start to pipe one row of white roses. I eyeballed my ombré to the size of the cake layers and just worked my way from the bottom to the top of the cake. To ice a rose, start in the middle and make a circle, drawing it outwards. Once you have a complete circle, trace the outside again with buttercream until a nice rose forms. Now just like you did with the cake batter, gradually start to dye your icing. Add in a bit of food colouring, mix, pipe on a row of roses, add more food colouring and pipe more roses until you are done.