Dreaming of divine chocolate decorations but terrified of losing your temper? For many baked items, such as fluffy frosting or creamy cake fillings, you can get away with simply melting chocolate to take it from a solid to liquid form like in these Chocolate Divinity Candies. When you get into the world of bonbons and confectionary, however, that’s another matter entirely. Tempering chocolate is a mandatory step if you want both the shiny gloss and the distinctive snap of a well-made candy or decoration like in Anna Olson’s Chocolate Dipped Marzipan — and that’s where you have to pay some attention to technique in order to achieve success.

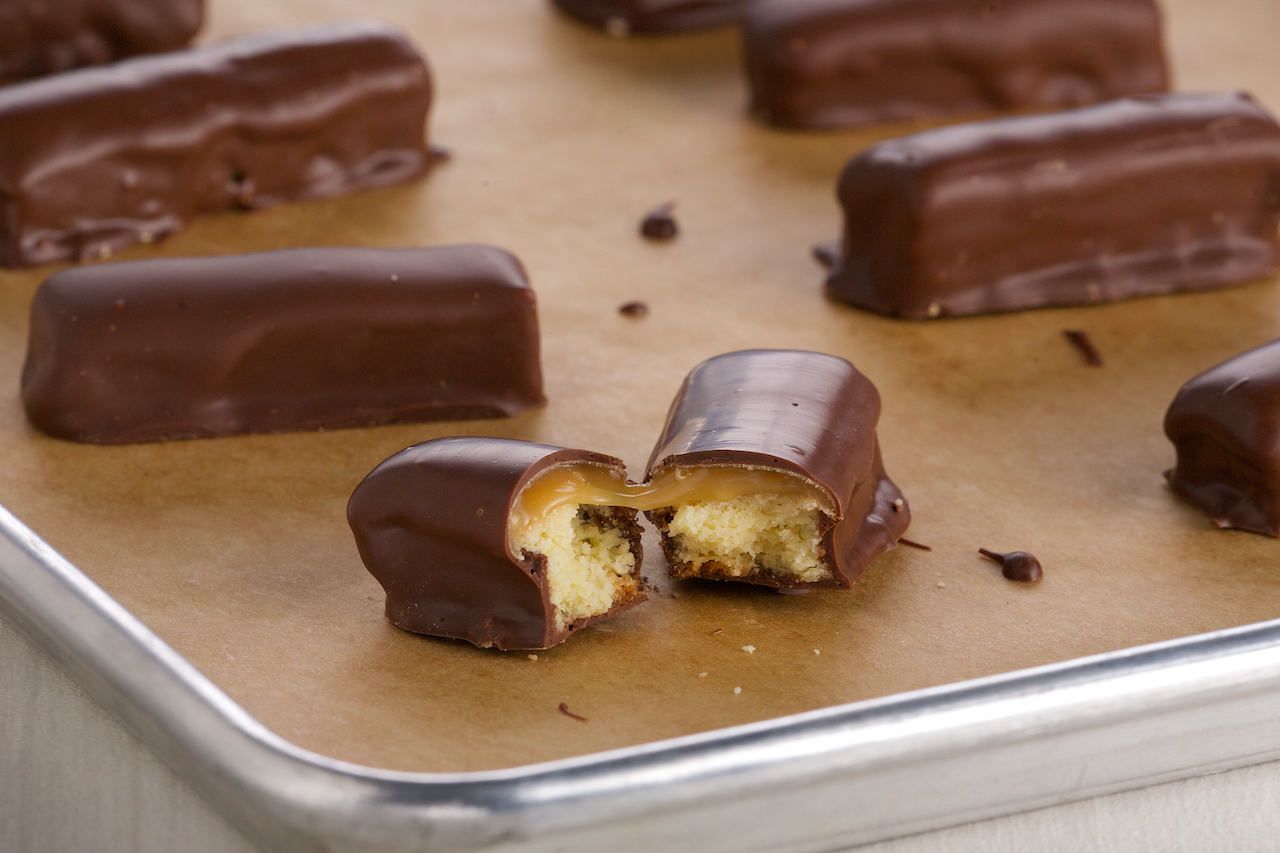
L-R: Anna Olson’s Chocolate Divinity Candy and Chocolate Dipped Marzipan
Related: Chocolate Making Tools Every Home Chocolatier Needs
If the thought of working with molten chocolate (and even worse, the dangers of it seizing or splitting) has you clutching your (baking) pearls, we’ve got you covered. Read on to find out the best, and easiest, ways to work with chocolate, even if you’re a novice chocolatier.
How to Properly Melt Chocolate
For melting chocolate, each method has its advocates: some cooks prefer the double boiler method (or just setting a glass bowl on top of barely simmering water), while others turn to the microwave for an easy fix. Both methods involve the same basic principle: chopping chocolate into chunks for faster, more even melting, and applying gentle heat until most of the distinct shapes have disappeared.
If the unthinkable happens and your chocolate separates into a greasy, gritty mess, due to over-vigorous stirring or too-high heat, you can try Anna Olson’s ingenious trick to add moisture to return the mixture to molten glossiness (note: this fix is only for melting — even a single drop of water is the enemy of well-tempered chocolate).
See More: Desserts That Prove Peanut Butter and Chocolate Are a Perfect Match
How to Properly Temper Chocolate
For this technique, you’ll need to pull out a few items, namely a candy thermometer, a sturdy glass bowl and a silicon spatula that can handle some heat without melting. Depending on the method you use, you may also need a few more pieces of equipment, such as a marble board and wax paper.
The initial stage of tempering looks much like the melting process — use a glass bowl set over barely simmering water (not a rolling boil; there shouldn’t be any bubbles) to melt the chocolate chunks, or place the bowl in the microwave and use short bursts, checking often.
Where tempering differs, however, is the next step, where the chocolate mixture is cooled and warmed within precise ranges of temperature in order to achieve a smooth, shiny surface when it hardens (the temperature you need to hit depends on the type of chocolate you plan to use).

See More: Easy Chocolate Garnishes With Steve Hodge
This varying of temperature can be accomplished in a couple of ways: by adding other ingredients such as more chocolate (seeding) or cocoa butter to the mixture, or by pouring two-thirds of the hot chocolate mixture onto a marble board and mixing it with putty knives to cool it manually (see Anna Olson’s step-by-step description for more on this method).
Inquiring scientific minds among us may be intrigued by more gear-driven approaches, including Alton Brown’s combination of the friction of a food processor’s blades plus liberal use of a hair dryer to create heat, or J. Kenji Lopez-Alt’s sous-vide circulator method over at Serious Eats.
Decoding Seed Tempering
For the easiest method using the least equipment, however, seeding chocolate is probably the best approach for a chocolate novice (for a visual demonstration, check out the video below from Great Chocolate Showdown judge Steve Hodge, pastry chef and chocolatier at Temper Pastry in West Vancouver.) With a few simple steps, this process can be achieved without too much stress (on both the chocolate and the cook).
Using the glass bowl over simmering water method, melt chunks of chocolate to the desired temperature (remember that they vary depending on the chocolate and are very narrow ranges, so use that candy thermometer.) We’ll use dark chocolate for this example, which should be heated to 45 to 48 degrees — milk and white chocolate, with higher milk and sugar contents, may react differently.
Take the chocolate off the heat (leave the burner on…you’ll need it again shortly) and add prepared small pieces of chocolate (the “seeds”), which will help cool the mixture down quickly as they melt into the warmed chocolate.
Stir with a spatula until the overall temperature comes down to about 27 degrees Celsius (again, there may be some variation depending on the type of chocolate you use).
Next, quickly warm the chocolate back up by putting it into the double boiler until it hits 32 degrees Celsius and a thick and glossy texture — perfect for piping into a pretty design on waxed paper that will set up beautifully. If you aren’t sure if you’ve tempered the chocolate correctly, you can test it out by piping a small bit onto the waxed paper (or a metal sheet pan set over an ice pack).
Working quickly, swirl and create chocolate garnishes to your heart’s content: the designs should set up to a delicate decoration with the signature snap when you bite into it (try and leave a few decorations for dessert!)
Watch Great Chocolate Showdown Mondays at 9 p.m. ET/PT. Watch and stream all your favourite Food Network Canada shows through STACKTV with Amazon Prime Video Channels, or with the new Global TV app, live and on-demand when you sign-in with your cable subscription.