The true hero of every food photo is, without a doubt, the food itself. Since you’ve nailed creating the perfect baked goodies, here are my five expert food photography tips to take the most enticing photos of them, whether you wield a camera or a mobile phone!
Related: Steve Hodge’s Best Tips for a Successful Bakery
1) Good light or bust
This is my first tip for good reason! The light you shoot your subject in is the biggest determinant between a flat, mediocre photo and a stellar one.
• Natural Light: The good news is, natural sunlight is a great light source for food photos and costs nothing—but you must know how to use it right. Study the light available in your home, bakery or studio and observe how the light looks at different times of day, including intensity, colour temperature (cool versus warm) and shadows. If you have windows facing different directions, compare how the light looks next to each of those too.
• Direct Light: Strong, direct light can be edgy and dramatic, but it’s trickier to master.
• Diffused Light: Indirect light is the easiest to make food appealing. What is “diffused indirect light”? Think of the light that comes in through your window mid-morning before the sun’s position and intensity casts shadows inside, or an overcast day when clouds disperse its rays. Another element of light is the direction from which it hits the subject: from the side, behind or above. In general, the most forgiving natural light for a beginner photographer is diffused indirect sunlight coming from the side of the subject i.e. placing your subject at or near table-height beside a window where there are no shadows or harsh sunlight. A north-facing window, if you have one, is favoured by food photographers because of the softer, bluer light.
• Artificial Light: Be sure to turn off every artificial indoor light. No food looks good with even the faintest bit of icky yellow cast.
Related: What Baking Ingredients Are Best to Buy for Home Bakers
2) Gotta hit them angles
There are three commonly-used angles to shoot food: straight-on from the front, three-quarter downward angle, or overhead. A good exercise is to look through your camera lens or screen as you move around the subject to figure out which angle showcases the attributes you want to highlight. Below are general rules with practical examples, but be sure to explore all three (and angles in between) to find the best one.
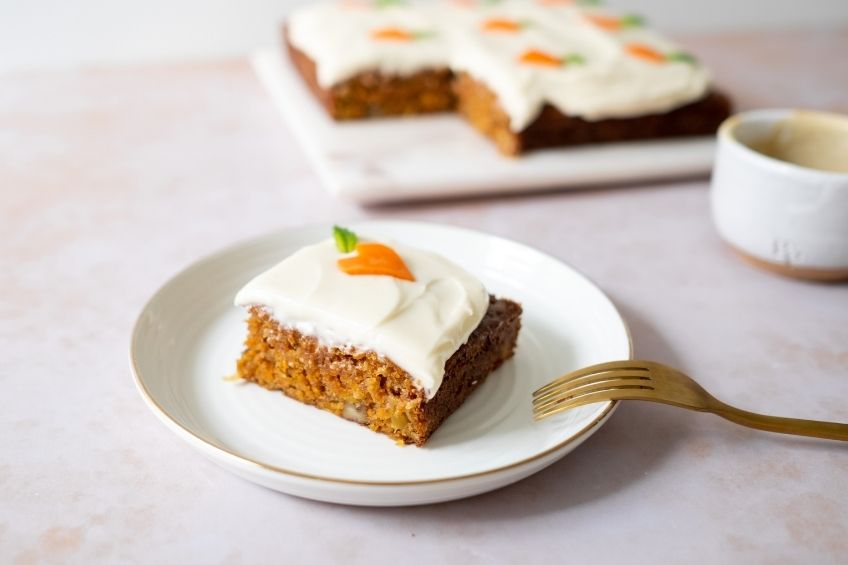
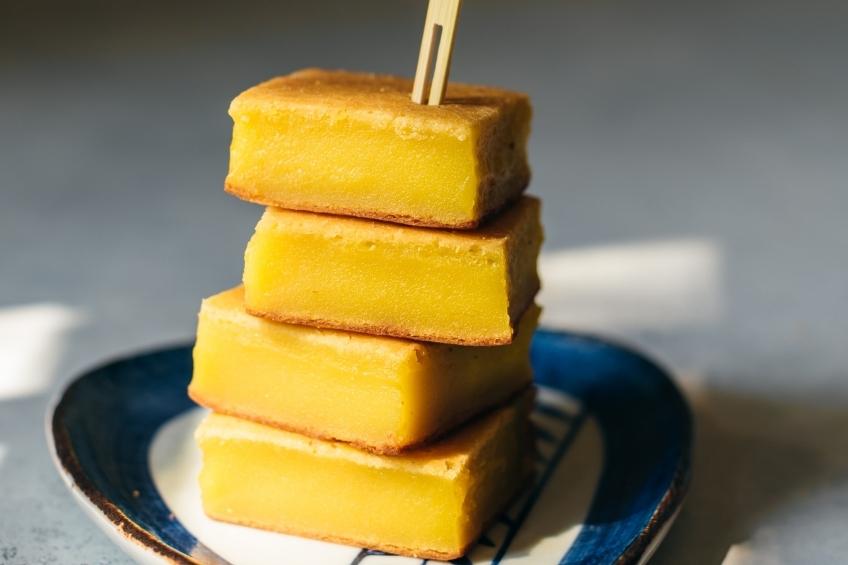
• Straight-On: Ideal to showcase height and/or interesting layers for cupcakes, layered cakes, stack of cookies or bars.
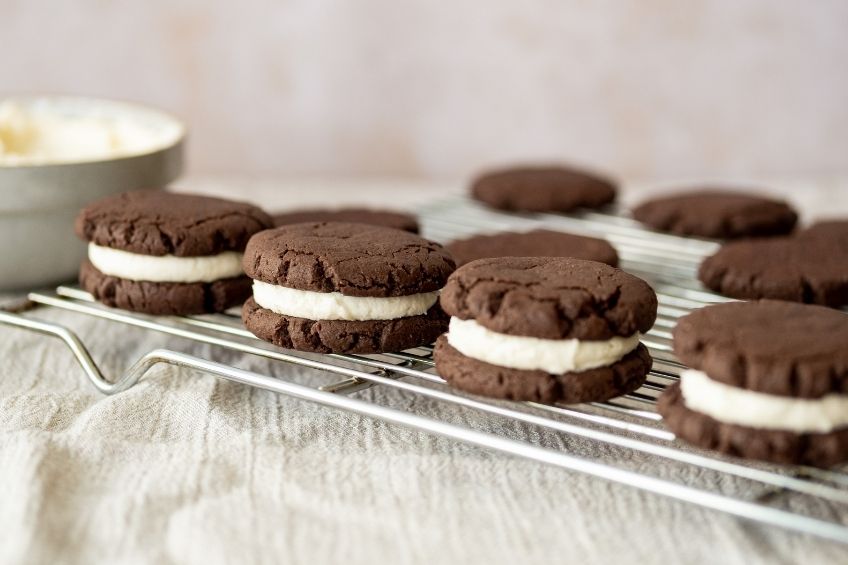
• Three-Quarter: Best for showing off items with layers or fillings in bars, macarons, filled tarts, profiteroles, doughnuts, cinnamon rolls.
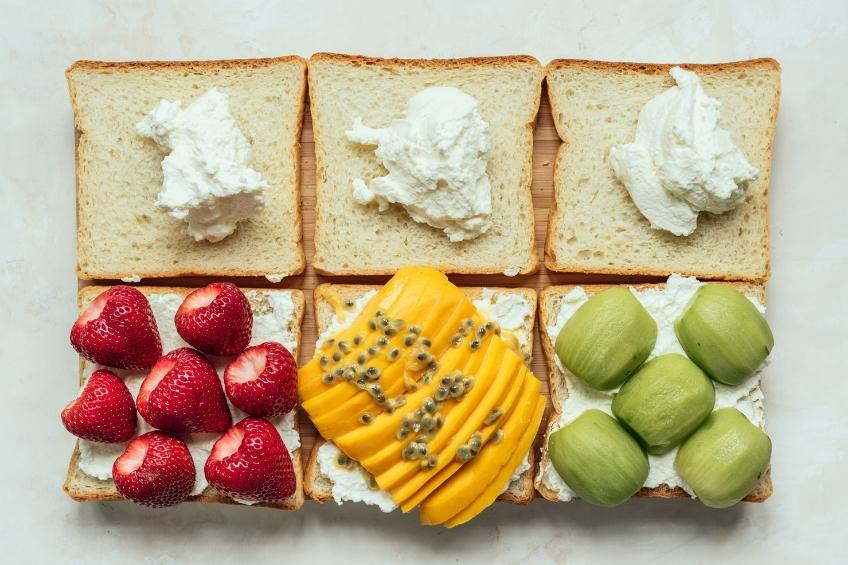
• Overhead: Perfect for flat foods or foods with interesting shapes, surfaces or toppings e.g. pizzas, galettes, pop tarts, cookies, doughnuts, macarons, cinnamon rolls.
Get the recipe for: Creme-Filled Chocolate Cookie Sandwiches
3) Bring images to life
Composition: How elements are arranged in your shot to be aesthetically pleasing. Keep in mind:
• Rule of Thirds: Imagine overlaying a grid of nine boxes over your image, then place your points of interest at the four intersecting points of the grid.
• Leading Lines: Use lines to lead a viewer’s eye to the focal point e.g. a cake knife pointing toward the confection.
• Repetition: Place multiples of the same item or items of similar shape. Grouping in odd numbers is ideal.
• Symmetry and Asymmetry: There is beauty and balance in symmetry, but be careful it doesn’t look boring or manufactured. Asymmetry can evoke interest. Try using negative space as well, in practicing asymmetrical composition.
• Layers: Photos are two dimensional. Introducing layers creates depth and texture. Layers can take the form of the backdrop, linens, plate, cooling rack, a sprig of mint atop a cupcake or a sprinkling of powdered sugar on a tart.
• Colour: Different hues evoke different emotions or impressions. Blue feels calm, orange feels warm, green feels fresh and brown feels earthy. There’s also established guidance for mixing colours in visually appealing ways such as complementary, monochromatic and analogous combinations. Complementary tones sit opposite on the colour wheel i.e. pink cupcake set on a green surface. Monochromatic combos use hues, tints and shades of the same colour i.e. red strawberries on pink frosting. Analogous combo involves three adjacent colours i.e. red, orange and yellow heirloom tomato slices arranged on a vegetable tart. Think about the impression you want your food to make and choose your colours intentionally for the props and elements in the frame.
• Props: Anything that helps your image tell a complete story is a prop. You may use glassware, napkins, plates, pinch bowls, baking tins, cake stands, cutlery, etc. to add interest by way of texture, shape and height. You can also use raw ingredients from the recipe as a prop to convey freshness, such as juicy berries, vibrant herbs, a dribble of maple syrup or a dusting of flour on the table. Scatter bits of the food around it to hint at its texture, such as streusel crumbs or bits of chopped nuts. You can place utensils used in preparation, serving or enjoyment of the food to make the viewer feel part of the experience, such as a used whisk or spoon shattered through the sugary crust of a crème brulée tart. Be sure the prop makes sense and relates to the hero food.
Get the recipe: Japanese Fruit Sando
4) Capture food at its freshest
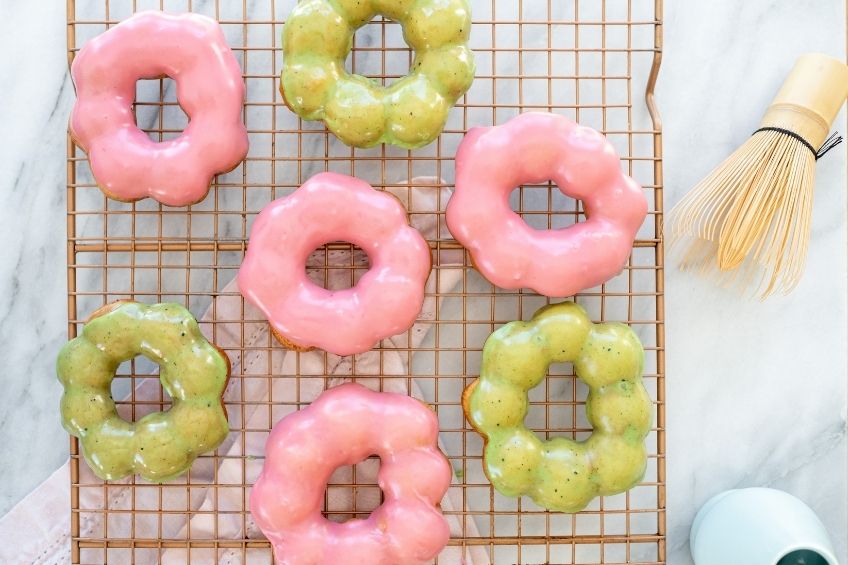
With some exception, many baked goods look their best when freshly prepared. Think about the shine of chocolate chips on a just-baked cookie, gooey cheese on a hot pizza, or the glisten of freshly dripped glaze matcha and raspberry mochi doughnuts (pictured above!). These details make them inherently more drool-worthy! This means you should prepare as much of your set up as possible before the food is ready. Pull the table next to the window, set up any surfaces or backdrops, grab all the props you might need, fire up your playlist, and if you’re using one, have the tripod set up with the camera. Arrange props (sans the hero food) in a way you think will look good, and once the hero food hits the scene, ideally you only need to make a few final adjustments before you click away.
Related: Project Bakeover Was Life-Changing for These Thriving Bakery Owners
5) Editing Magic
Brightness, colour saturation, white balance, contrast, shadows: these are some of the basic adjustments you can tweak in editing software to create a more professional and polished result. You don’t need to be an expert photographer or to shell out big money for software. There are powerful mobile editing apps available, some free to download (Lightroom and Snapseed for example). Taking an excellent photo straight out of camera is always #goals, but that rarely happens. Image editing can save a photo or enhance an already strong one. That said, I caution the impulse to over-edit. It’s easy to get carried away and end up with harsh, fake-looking results, so use a gentle touch!
Get the recipe: This Delightfully Chewy Mochi Cake is Made With Fresh Corn
Photos courtesy of Sonia Wong and Sabrina Stavenjord.
Tune into Project Bakeover Thursdays at 9PM ET/PT. Watch and stream all your favourite Food Network Canada shows through STACKTV, Corus Entertainment’s premium multi-channel streaming service, which is now available to Rogers Ignite TV and Ignite SmartStream customers, in addition to Amazon Prime Video subscribers.