What separates an average home cook from an advanced culinary wizard, like the bakers on ? It’s the ability to take simple ingredients and elevate them to new levels. Take butter for example — rich, silky and delicious on its own, but with just a few minutes and no additional ingredients, it can be transformed to a nutty, toasty version that’s perfect for using in sauces, baked goods and more.
Improve your culinary skills and create irresistible dishes with brown butter. We’re sharing how to make browned butter, expert tips and our favourite applications for this delicious ingredient.
So, what is Brown Butter?
Brown butter, also sometimes called hazelnut butter (or buerre noisette) is made by cooking butter until it’s golden brown, caramelized and nutty in flavour.
Browned butter takes just one ingredient to make — butter! The flavour is achieved through the process of heating the butter it foams and the water content boils off, at which point the milk solids separate and brown, giving it the delicious toasty flavour.
How to Brown Butter
The process of making browned butter starts with choosing the right butter. Choose a high-quality butter, like Gay Lea’s Organic Unsalted Butter (a preservative-free choice that’s made with just one ingredient — cream!).
Unsalted butter is easier to monitor as it foams less, allowing you to better see the colour and cook it to the perfect golden brown. You can use salted butter too (for example, we love Gay Lea’s Bakers Gold for browned butter cookies and cakes), but just know that the salt makes the melted butter foam more and cooks faster.
How Long to Brown Butter
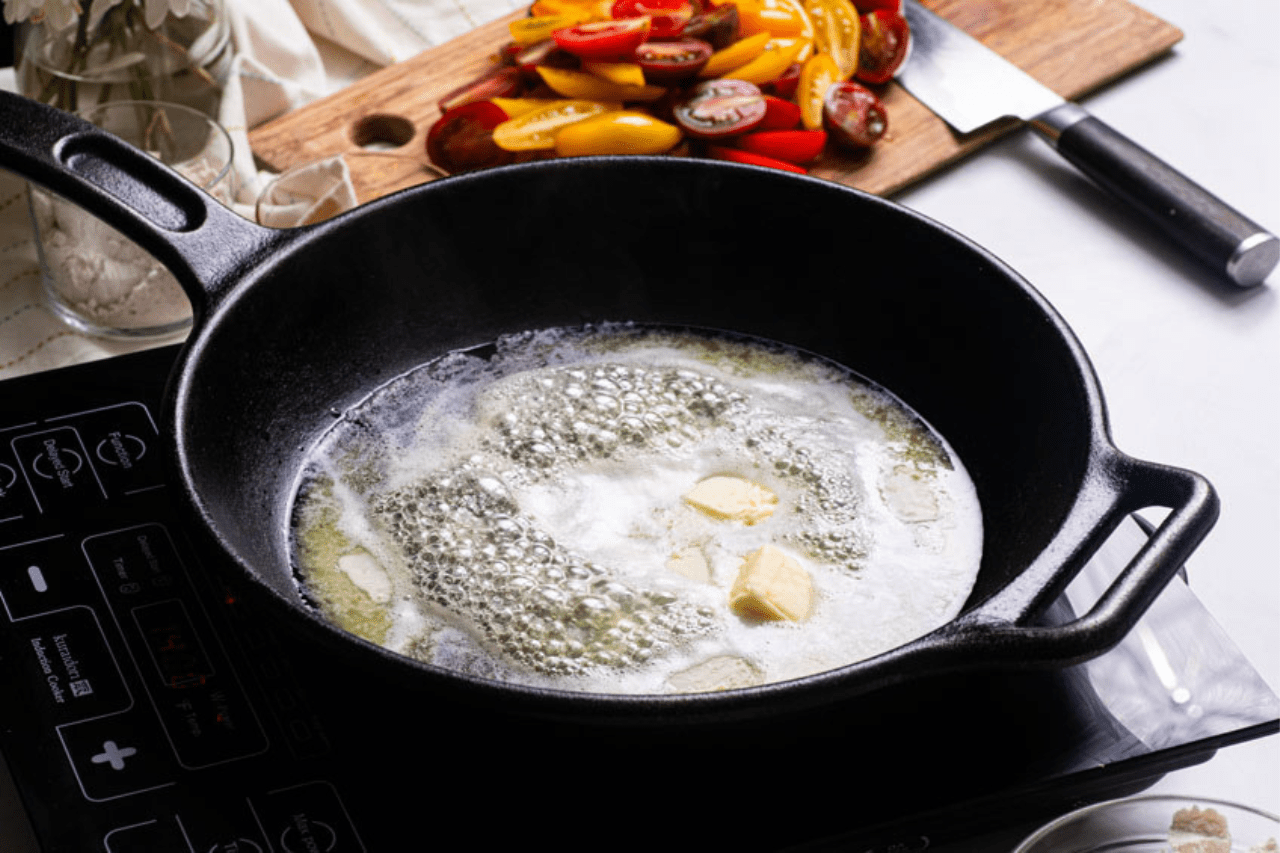
Browned butter is made by melting butter and heating it up at low to medium heat. It should take approximately five to ten minutes to brown butter, depending on how much you are making and how high your heat is. You’ll know your butter is ready when it turns a deep brown and omits a tantalizing hazelnutty aroma.
Start With the Right Pan
For the most simple recipes, the key is choosing the right ingredients and tools. For browned butter, you won’t want to reach for a dark or non-stick skillet. Instead, grab a light-coloured stainless steel pan. You want to be able to see the colour of the butter well in order to monitor its level of doneness, taking it off the heat at the exact right time.
Related: Are You Using the Right Butter in Your Baking? The Best Type for Every Baked Good
Swirl or Whisk It Up
Once the butter has melted, it will separate into milk solids, butter fat (AKA clarified butter) and water (which will foam and evaporate off). The milk solids, those white foamy bits, will begin to brown as the butter continues to cook. They’re the key to the delicious flavour, so you’ll want to ensure an even browning by continually whisking the butter or swirling it in the pan. Avoid letting those milk solids burn at the bottom.
See More: These Hacks Will Make Baking with Butter a Breeze (Including the Best Softening Secret!)
Transfer and Cool
Once you’ve achieved the right colour, remove the butter from heat and transfer to a heat-proof container (like a glass jar). You can use the browned butter right away for recipes like Pan-Fried Gnocchi With Sage, Lemon and Brown Butter or allow to cool and solidify before using for any number of recipes.
To Strain or Not to Strain?
Some cooks prefer to strain their browned butter to get a clear, smooth product. But the brown flecks are the toasted milk solids, and they hold most of the flavour, so if you want the maximum amount of nutty taste, don’t strain the milk solids.
How to Store Your Browned Butter
Fresh is always best for this simple recipe, but brown butter can be made ahead and stored for later. Browned butter should be stored in an airtight container at room temperature for up to five days. The shelf life can be extended by storing it in the fridge up to a month, or three months in the freezer.
Brown butter recipes
Now that you’ve made your delicious browned butter, you can use it in a variety of applications, both sweet and savoury.
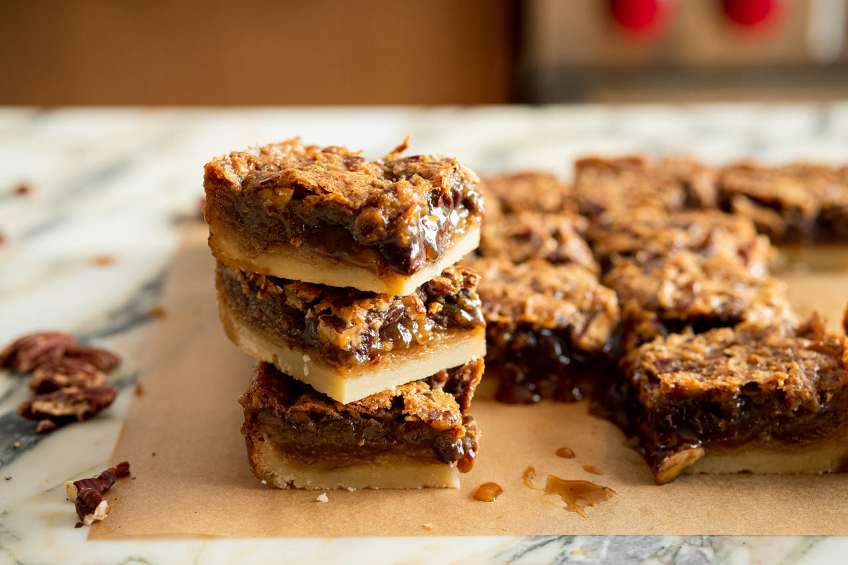
Sweet Recipes Starring Brown Butter
Baked goods can benefit from the richness that browned butter adds. Try it in these recipes:
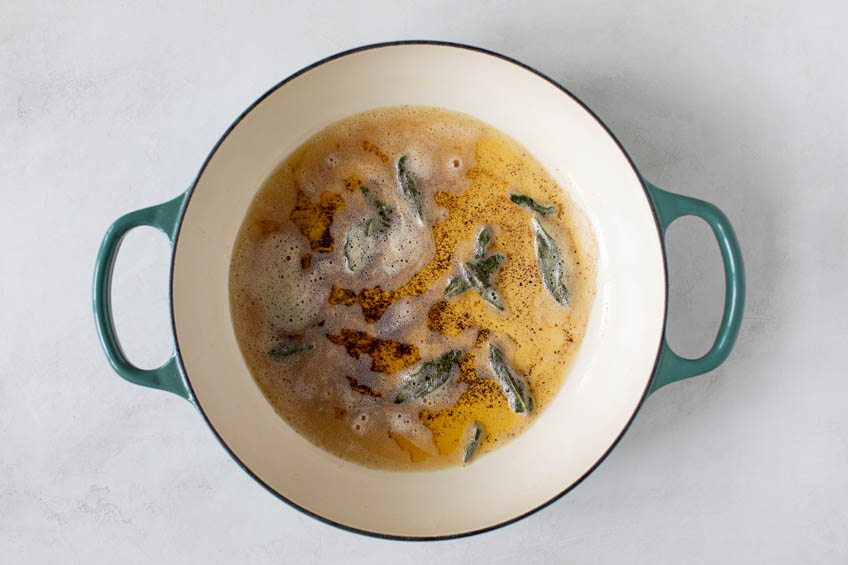
Savoury Recipes Starring Brown Butter
It’s not just sweet applications that the nuttiness of browned butter complements. Brown butter sauces are an excellent way to utilize this rich ingredient. Try it in:
How do you enhance brown butter flavour?
If you want to take your brown butter to the next level, you can add even more flavour with one simple addition. Since the flavour lives in the toasted milk solids, choosing a richer butter, like Gay Lea’s Grass-Fed Unsalted Butter, or adding in milk powder can enhance the taste. Start with melting butter in your pan and in the milk powder, toasting to a deep brown.
Catch up on episodes of The Big Bake: Halloween on Food Network Canada. Stream Food Network Canada with a STACKTV subscription. Try it free today.