The weather is turning, the days are growing longer, and creativity is at an all-time high. And with so many fresh springtime ingredients ready to be transformed, who wouldn’t want to hop in the kitchen and put that extra creativity to good use? Whether you’re baking up some fresh cookies or homemade butter tarts to cheer up friends, following an easy chocolate cake recipe for a special occasion, or kneading a loaf of crusty bread to go with that seasonal salad for dinner, there are a few golden baking rules you’ll want to follow the next time you’re getting your batter on.
But First—The Perfect Pastry Butter Hack

Whether you’re a seasoned baker like those on The Big Bake or someone who’s just beginning to dabble in the world of all-butter pie crusts, short crust pastry, puff pastry and other offerings, getting your butter to that perfect consistency and temperature can make or break your bake. If you’re working on a pastry in which you need air pockets between the layers to rise up in order to create those fabulous flakes, freeze the amount of butter you need for your recipe beforehand. Then, rather than cubing or cutting it and pinching it into your flour, use your cheese grater to grate the butter directly in. The result is an easier dough to work with, since the grated butter is much more forgiving.
But wait—what if you actually need room temperature butter for your recipe, and your butter is in the fridge or freezer? You should still grate it. Doing so increases the surface area, allowing your beurre to warm up and soften quickly. In other words, a grater is the perfect tool to hack all kinds of buttery bakes. And now onto the other golden rules of baking…
Related: Brown Butter Recipes You Won’t Be Able to Resist
Always Read Over Your Entire Recipe Before You Start

This rule applies to all kinds of cooking and baking, but to baking in particular where exact measurements are required and substitutions can throw off your whole game. Read over your recipe from start to finish so that you know exactly how much of each ingredient you need. But don’t just read over the ingredient list—have a good look at the method too. It can be easy to miss simple steps like resting time, sifted flour versus poured flour, or creaming your butter and sugar before mixing. With that last step for example, creaming your butter and sugar together beats air into the butter and helps the sugar to hold that air, giving your baked goods structure. If you just mix or pour butter and sugar in without adding that vital step, you could end up with a dense, flat product.
See More: Flour 101 – Your Guide to Baking
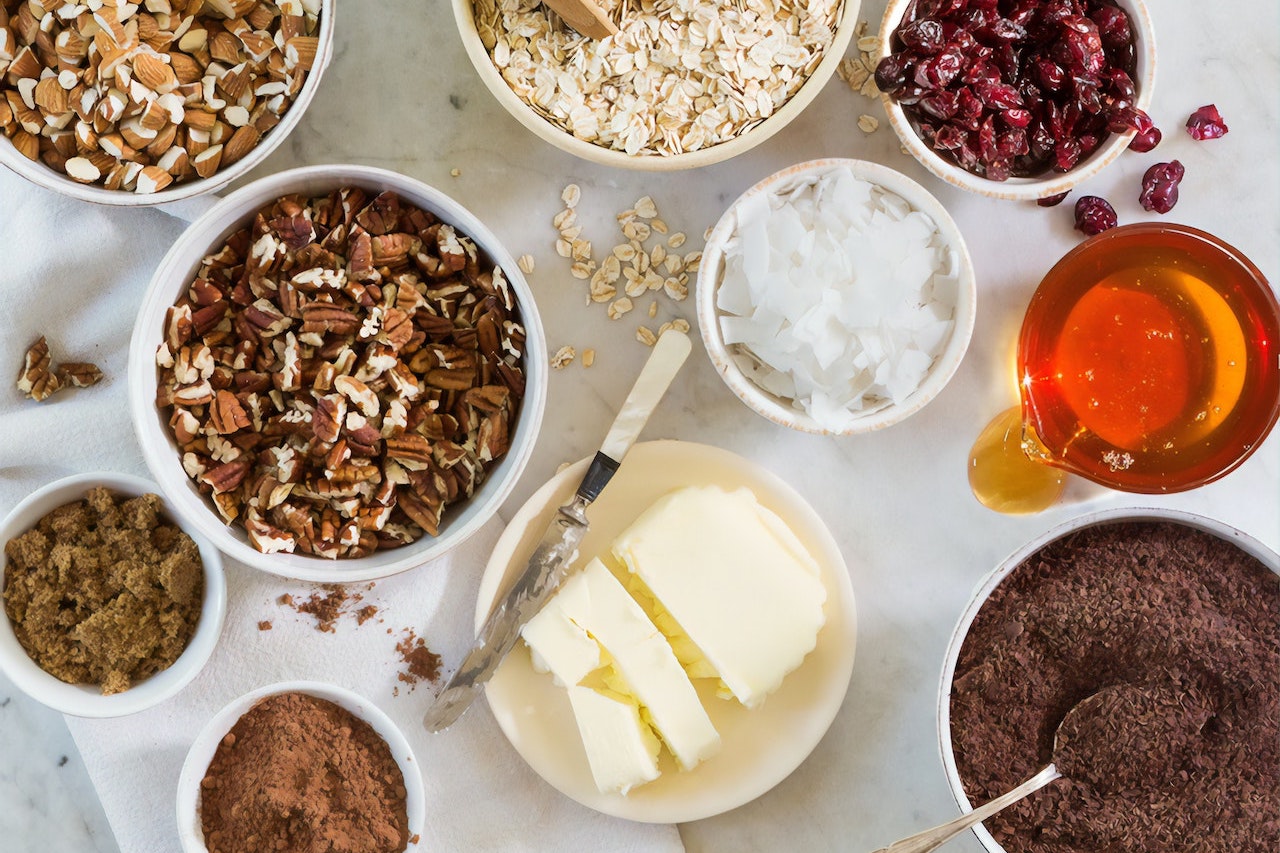
Remember the Quality of Your Ingredients Matters

When you’re shopping for a special recipe, the quality of ingredients will help dictate the quality of your final product. Sure, you can grab artificial vanilla extract, but will it taste the same as the real stuff? Of course not. The same can be said for the type of chocolate, nuts, maple syrup and honey you use—fresh, good quality ingredients will always transform your bake. Butter is another big one. In France, some of the world’s top pastry chefs only use butter that’s high in milk fat—at least 82 per cent. In Canada, our butter is typically only churned to 80 per cent milk fat, and that two per cent drop makes a world of difference. If you really want to create the flakiest of pastries and crispiest of cookies, grab Gay Lea’s new Bakers Gold butter, which is churned to an impressive, chef-grade, 84 per cent milk fat.
Never Overbeat Batter
A stand mixer or even the handheld variety can be a wrist saver for sure, but when you’re talking about mixing together ingredients for a bake there’s a slippery slope. More often than not recipes for baked goods always come with the disclaimer, “don’t overmix.” And for good reason. When you overmix cakes, cookies, muffins, bread or even pancakes you run the risk of injecting too much air into the batter and developing extra gluten. While some gluten is key when it comes to chewy baked goods, too much of it will just make your offerings gummy and dense. In other words, when a recipe says “mix until just combined,” take the step seriously and don’t walk away from a mixer that’s having a party in the mixing bowl.
Related: Harry Eastwood’s Healthy Baking Substitutes
Stop Confusing Wax Paper and Parchment Paper

Hands up if you’ve charred a recipe or two by accidentally putting wax paper instead of parchment paper in the oven. Baking with wax paper is never really advisable. The stuff is water-resistant, which means it’s great to lay down for cool things when you don’t want them to stick, but it’s definitely not heat-resistant. A good rule of thumb is to remember that for anything cold, you want wax paper. And for anything hot you want parchment paper, which is typically safe in the oven up to 450°F. (But check your packaging.) If you have both and you keep confusing them however, maybe consider investing in a silicon mat or liners. Depending on the brand they’re great for all things hot and cold, and they wash up easily in your sink to cut down on waste, too.
Always Blind-Bake Pie Crusts

No, you don’t need a blindfold to pull off the best pie crust of your life. Instead, all you need is a blind bake and some high quality butter, like the aforementioned high milk-fat butter that is Gay Lea’s new Bakers Gold butter. Blind baking means that you bake the crust in full before putting in any kind of filling, so that you know the crust is cooked all the way through. Otherwise you run the risk of adding filling to an uncooked crust and creating a soggy mess. What’s the other benefit of blind baking a pie crust with a butter that’s high in milk fat? Higher butterfat means less water and a softer texture, resulting in butter that easily melts into those pastry layers. There’s nothing like the flavourful, flaky crust that you get as a result. One bite can basically transport you back into your grandmother’s kitchen, where your mouth waters in anticipation of that freshly baked pie sitting in the windowsill.
See More: The Best Summer Pies and Tarts
Don’t Substitute Baking Powder for Baking Soda
…and vice versa. Although it’s easy to confuse baking powder with baking soda, they each do different things in the chemistry that is baking. Baking soda, AKA the one some people keep in the fridge to help deodorize all of those food smells, is sodium bicarbonate. In order for sodium bicarbonate to activate and help your baked goods rise, it needs an acid (brown sugar, lemon, vinegar, chocolate etc.) and a liquid. Baking powder, however, is baking soda that already has an acid (cream of tartar), and sometimes a bit of corn starch. In order to activate its equally awesome rising properties, all you need is a liquid.
Browning Butter is a Baking Superpower
Would you consider this one a rule, or a hack? Either way, nothing beats the deep, rich flavour of browned butter—especially in baking. Brown butter cookies, brown butter brownies… even a cake with brown butter frosting is enough to make you hungry. If you want to execute perfectly browned butter for use in your baked goods, slowly melt it in a pan over medium heat. You want even heat distribution so that the butter cooks evenly, but be sure to constantly stir it so that it doesn’t burn (brown butter can turn to burnt butter before you can say “browning burnt butter” three times fast). When the butter is a nice brown hue and the edges begin to sizzle and foam, you’re ready to remove it from the heat. All in all, the entire process should only take about 5-8 minutes, but it makes a huge difference in your final flavour profile.
Related: Anna Olson’s Guide to Buttercream Icing
Chill Your Cookie Dough Before Baking

If you’re going through all of that effort to make cookies from scratch, don’t you want to make the best possible batch? Of course you do! So if you aren’t already chilling your cookie dough before baking it, we have to ask, why not? As a general rule of thumb, once your dough has come together you should chill it in the fridge for at least 30 minutes so that the butter can harden again. That way the butter doesn’t disperse too quickly and flatten out the cookie. If you find it tough to work with chilled dough, scoop out your balls beforehand and then chill them on a baking sheet in the fridge. Or, flash-freeze them in the freezer, throw them into a freezer-friendly bag, and bake them up anytime you want fresh cookies.
Chilling cookie dough is a golden rule to be sure, but there are exceptions. If you’re going for a thin cookie that spreads out or you have a delicate dough like macron or madeleine, those are the instances where you’ll want to bake your cookies at room temperature instead.
Weigh Your Ingredients Whenever You Can
Recipes come in all kinds of measurements, but when it comes to baking, many of the pros prefer weighing their ingredients as opposed to counting cups and tablespoons. One reason is that a recipe is easier to half or double when you’re talking about weight over volume. But more importantly, there is less room for error when you’re using a kitchen scale versus the human eye. Baking is an exact science. And while there’s tons of room for creativity and innovation, the science at the base of those recipes remains the same. Whenever you have the opportunity to weigh your ingredients definitely do so, because the better you can get at precise ingredient measurements, the better those buttery baked goods will wind up tasting.
Watch The Big Bake Tuesdays at 9 p.m. ET/PT. Watch and stream all your favourite Food Network Canada shows through STACKTV with Amazon Prime Video Channels, or with the new Global TV app, live and on-demand when you sign-in with your cable subscription.
Photos courtesy of Unsplash.